Monday 25 August 2014

Post 167 BCI 2014 Convention at the Gold Coast

The convention ran over three days at a big hotel in Surfer's Paradise with Australian, Indian, Indonesian, Chinese and Japanese demonstrators.
The exhibition of trees, some 70 to 75 in number, were mostly from South East Queensland and there were some very impressive trees amongst them. There were a couple of notable exceptions from Canberra.

This group of corky bark chinese elms was styled by Shinichi Nakajima.

 
 This was the marble slab penjing by Zhao Qingquan
 

 And here he is in full flight.

I'm sure with these interpreter interfaced presentations there are a few things lost in translation but the process worked pretty well. I came away with a feeling that these things are a little more entertainment than learning opportunities. Seeing one more juniper styled from raw material is not going to advance my skills. All you can really hope for is the odd gem, reinforced enthusiasm and the pleasure of a shared interest with hundreds of other folks for a few days solid.


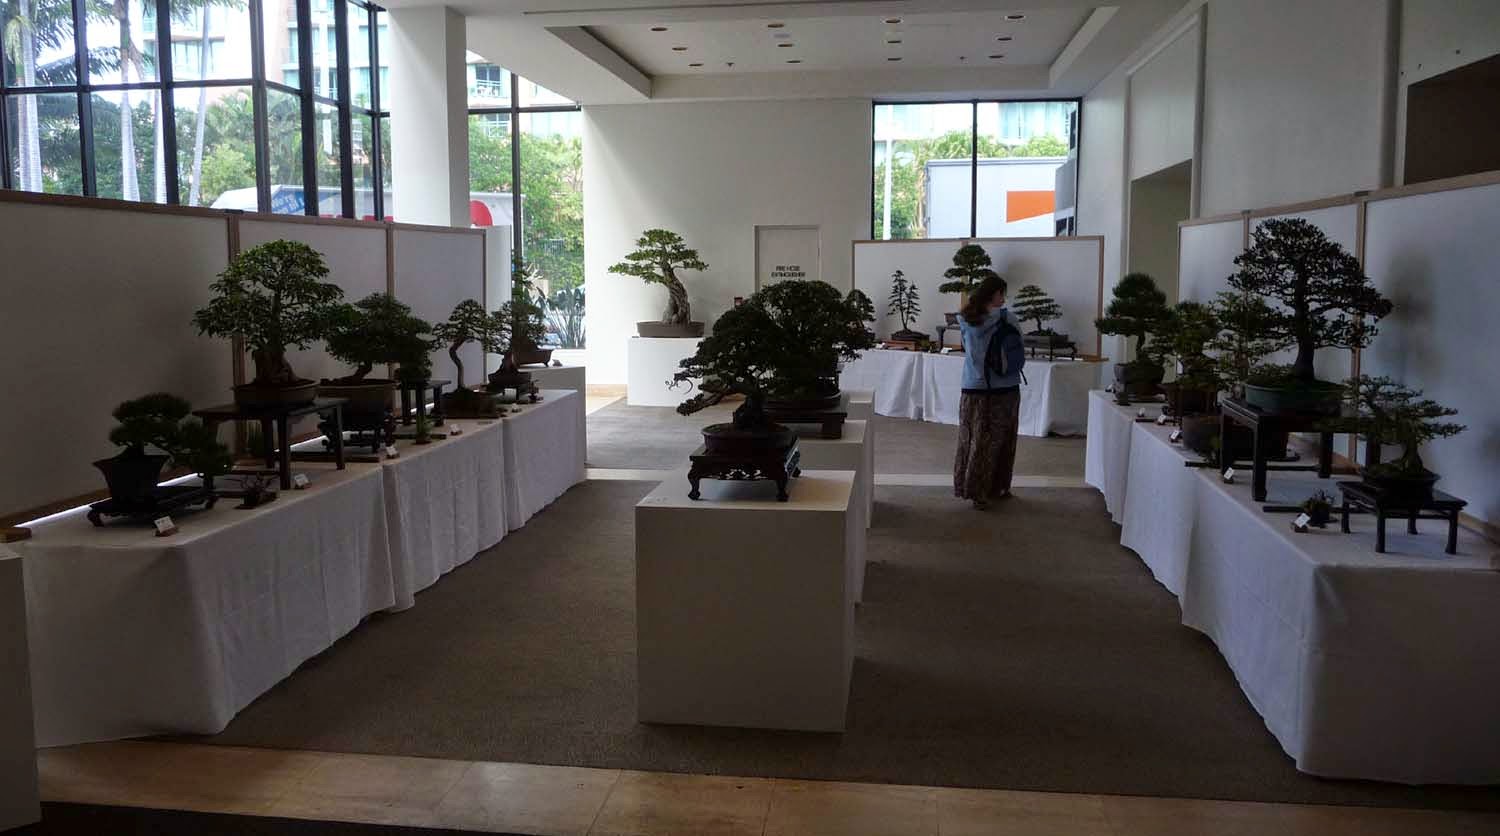
These two shots are of the exhibition area. The part close to the big southern windows was full of daylight and white space while the other part was not quite as bright. It was a well mounted display with lots of work done to make custom tables and backings.
Putting these things on is a huge task and there would be hundreds of minor and major details that all need to be pulled together at the right time. The reality is that it takes years of lead time and countless pre-commitments and agreements in the planning. A smoothly flowing convention is testament to the time put in well before the doors opened. Congratulations to the organisers and the many volunteers who spared no effort.

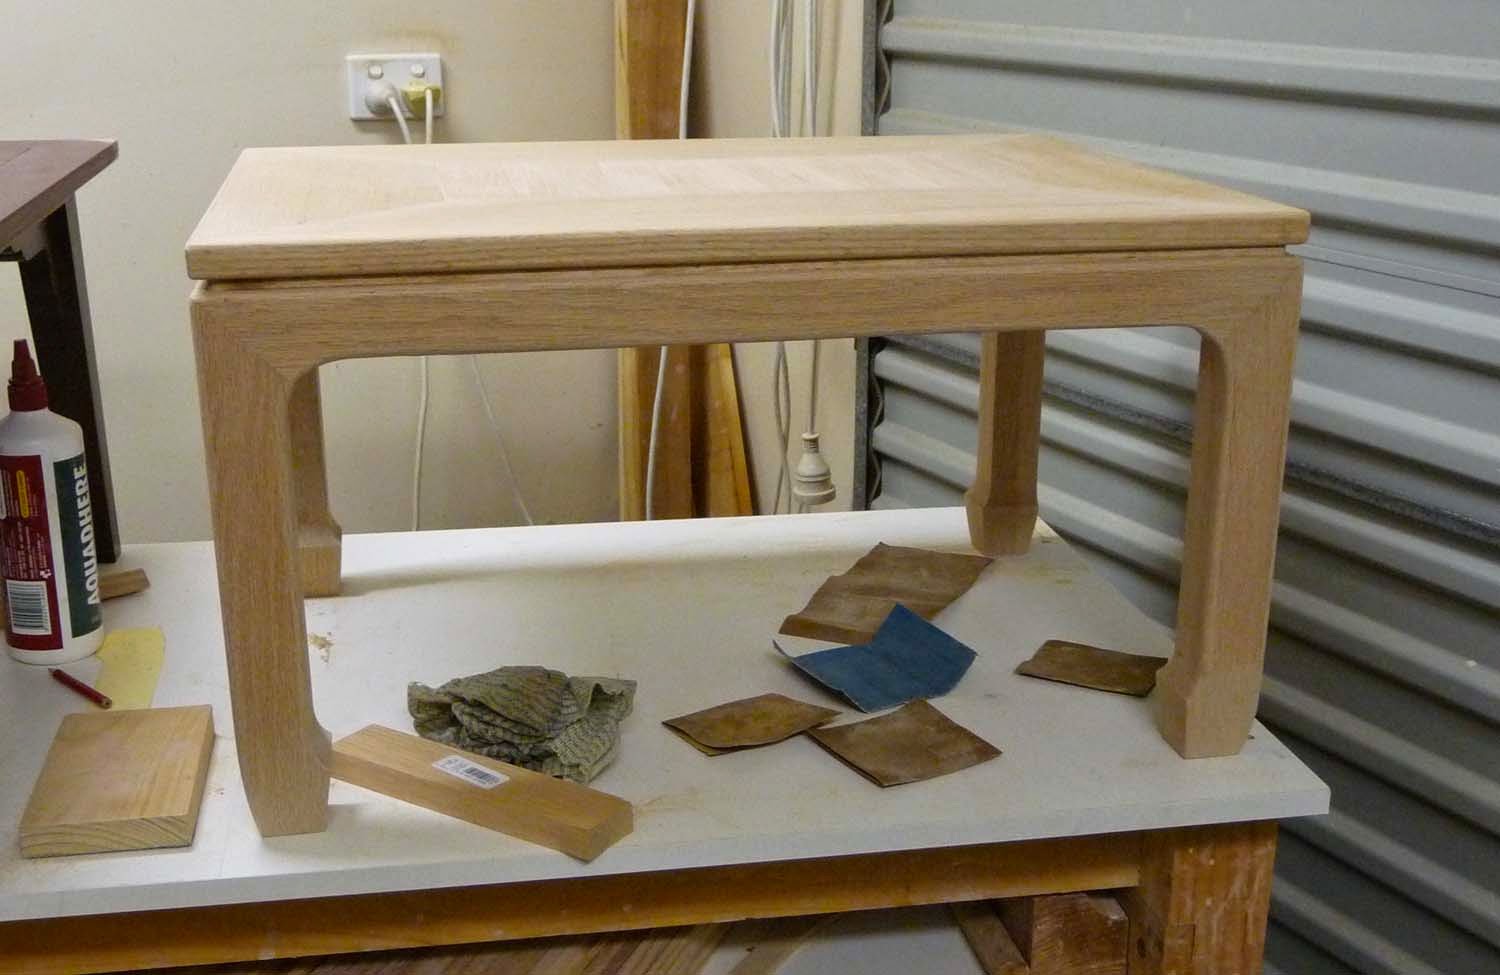
On a personal level I had a pretty good conference. I had two trees in the exhibition as well as 4 pots and 4 stands. I came home with one of three awarded BCI Excellence Awards for my Lilly Pilly, which has now gone to the National Collection in Canberra for a year. And not only that: There were daily raffles of donated prizes and on the last day I won a viewing stone, which was donated by Budi Sulistyo from Indonesia. Might have had something to do with the 20 entry tickets I put in that box. This is my very first stone but will it be the last, hmmmmmm? I'm not yet a 'stone man' and I can guarantee my wife is even further away from conversion. Half a dozen pot sales and a booking for a pot making demonstration rounded out the weekend.

Here are some pictures of  a few trees in the exhibition:


Tuesday 19 August 2014

Post 166 Celtis yamadori

The whole growing season has gone by and my celtis yamadori stumps are about to leap out of their blocks for their second season.
I collected these guys in July 2013 and put some of them in the ground to grow and others in poly boxes. During the season I let them grow and then pruned them back to short stubs and allowed them to run again.
With spring just around the corner and some of them starting to produce new shoots it looked time to set them up again with a root and branch prune. I found the ones that were in the ground not too much different in growth from the ones in the poly boxes, but it was much harder to get down there and look at them for early styling.
I have left two in the ground that don't look too prospective and now have all the others in larger containers and boxes above ground for the next season.

They had all produced plenty of roots and filled their containers but not as many as I would have liked in close to the trunk, so I've further reduced the large roots I'd previously retained and repotted them. At some time soon I'll probably evaluate a new soil line and do a drilled hole and toothpick layering to get surface roots where I want them.


 This was the one that had previously been chopped in situ and produced a mass of very strong leaders. I've now got multiple branches developing from these and started to get a fan like flaring happening. It looks like it will be a great fused forest in the future.


As you see for the others I'm not interested yet in refinement just focused on getting taper and movement on the new leaders, so I will maintain the grow and cut for quite a few more cycles to come. As soon as they shoot the first priority will be to select which shoots to keep and then point them in the right direction. I would like to stick to the bi-furcation strategy and select only two new branches/leaders for each of those already in place. With them all in boxes now it will also be easier in the coming season to start with a little carving to shape the original chops before the sealing goes too much further. Once there are some new roots to get them stabilised that will be the time. I can see some promise in some of these and am looking forward to the coming season to make something more of them.
I've just removed 8 decent lilly pilly stumps from the garden and have them in boxes recovering. Not many roots between them but the new shoots are still standing up. If they survive I'll have another interesting project coming up.

Thursday 7 August 2014

Post 165 Bonsai table consturction - final

After finishing the basic build the final step is the finishing, always the most telling.
No preliminary photos this time. From the finished job the process was sanding with successively finer sandpaper down to about 280 mesh. If you were much more serious you'd go on to 800 mesh but that's not for me.

From then you are then faced with basically two alternatives; stain followed by varnish or stain and varnish in the one product. The problem with the combined stain varnish product is that it is much more like a paint and after three coats any woodgrain gets lost. If you build with something like pine that will be fine but with a higher quality timber it is nice to retain the visual impact of the grain.

I wanted a good dark colour and so went for the Cabot's wallnut stain. On the test timber it had a little of the red tones as well as the dark brown. The mahogony was just a little too red.

To get the visual grain you have take the stain first route. Now the trick with staining timber is that in the construction you have to be very careful with the wood glue. Where PVA glue gets wiped onto the timber surface at a join it seals the timber surface and prevents any stain application from being effective in that area. So it is critical in the build when glueing joints that you don't use excessive amounts of glue and any that is forced from the joint be wiped off with a wet cloth before it dries. PVA is water soluble and so it can be removed from the surface when wet. This doesn't matter with the stain varnish but is critical when staining for later varnish.


I have a friend who like to finish with a oil product which needs a number of applications and lots of buffing. I find the oil finish to be a bit blotchy on coverage and have to say I perfer the spray on Polyurethane. It gives a repeatable certain finish and a good durable surface. I put about 5 coats on the table with a light sand after the third, very easy to apply and brings the stain to life.
Lots of hours to get this done but pretty rewarding in the end.

Wednesday 6 August 2014

Post 164 Bonsai Table construction #4

    The first job for today is to make up and fit the little spacer between the undercarriage and the top. The second job is I really do need to work on those feet.


I made the little spacer out of a piece of timber routed into an L shape to fit on the inside of the rails. Here it is fitted up.


 The second picture is from the inside.


And then I got on with job two, the feet. I ended cutting off about 6mm from the inner faces and 3 or 4 from the outer curved surface. They've gone from plodding army boots to dancing shoes and lightened and energised the whole table. This sort of work is just the same as shaping trees or pots for that matter. You have to stop and look and assess form and proportion all the time and then work out which element you change and which you keep. Even small things can have a big visual impact that would be hard to put your finger on. Contrast this with the first shot on this post above.

I only have to fix the top in place now and it's done. Sand and finish here we come.

Monday 4 August 2014

Post 163 Bonsai Table construction #3

Ok so another day and a bit more progress. This one started with the final assembly of the undercarriage with the side rails getting glued in.


 All done and not a nail or screw in sight. Notice that the feet in this shot are still straight on the outside edges. I'm going to put a little curvature there soon to soften their visual weight.

This is a view of the intersection of the mitres at the corner. I've moistened the timber to see the joins better. Looks pretty good, wasn't easy, but once the mitres are cut well it should just go together.


 And this is the foot with that little outer curvature sanded in place. You can see from the endgrain how the leg and foot are laminations of a number of pieces of timber.
The next couple of shots show the fitting of the central table top piece. It's actually a few pieces side glue joined and then cut to fit.


 After getting the outer dimensions right the table router was used to cut the rebate to match the one in the mitered pieces so it has a landing to sit on.


 The top is still not joined to the base at this point. I've just finished the job of rounding all the outer corners. Using the table router makes this an easy and foolproof job which gives a great finish.

Nearly done. The top is still not fixed in this shot. I just have to work up a thin section to separate the top from the base and simulate the gap shown here. That's a job for another day. Time to reflect on the overall proportions before finishing it off. I think the leg weight is good for the table size. The only thing I might do is shave a little off the inner flat surfaces of the feet to lighten them a little more. Finish is going to be a gloss dark brown colour.