Thursday, 28 February 2013

Post 78 Shimpaku planted ceramic tanuki

I've had a couple of questions about the ceramic tanuki deadwood I made some time ago (Post 44), so it's time to post an update on how they look now. It was back in October last year that I first put them together with trees.

This is the first one I did using a small shimpaku that I'd grown from a cutting. They are very easy to propagate from cuttings and even from quite mature and large offcuts. All I did with this one was to wind the tree up around the prepared groove in the tanuki and then secure it there with twine, which I have now taken off for the photo. Looks better without the orange twine and the apex of the tree has grown about 25mm since being put in place.


As you will see bettter in the next photo there is a wrap of green wire around the trunk just near the apex. This is the end of the groove that needs the tree to grow another 50 mm or so for one final twist around the trunk. At this time the tree has left and right branches in the right places and there is also one to the rear for depth. It has locked into the tanuki nicely at the base already. The further apex growth will offer plenty of options to build the final apex. It has lots of growing to do but will make a nice little bonsai.


For the second tanuki I originally used a Daintree Pine - very nice fine needle foliage llike a She-Oak. The trunk broke a number of times when getting it in place but it recovered and started to grow quite well, when with a change in watering conditions it just keeled over. Interesting try but perhaps just the wrong place.
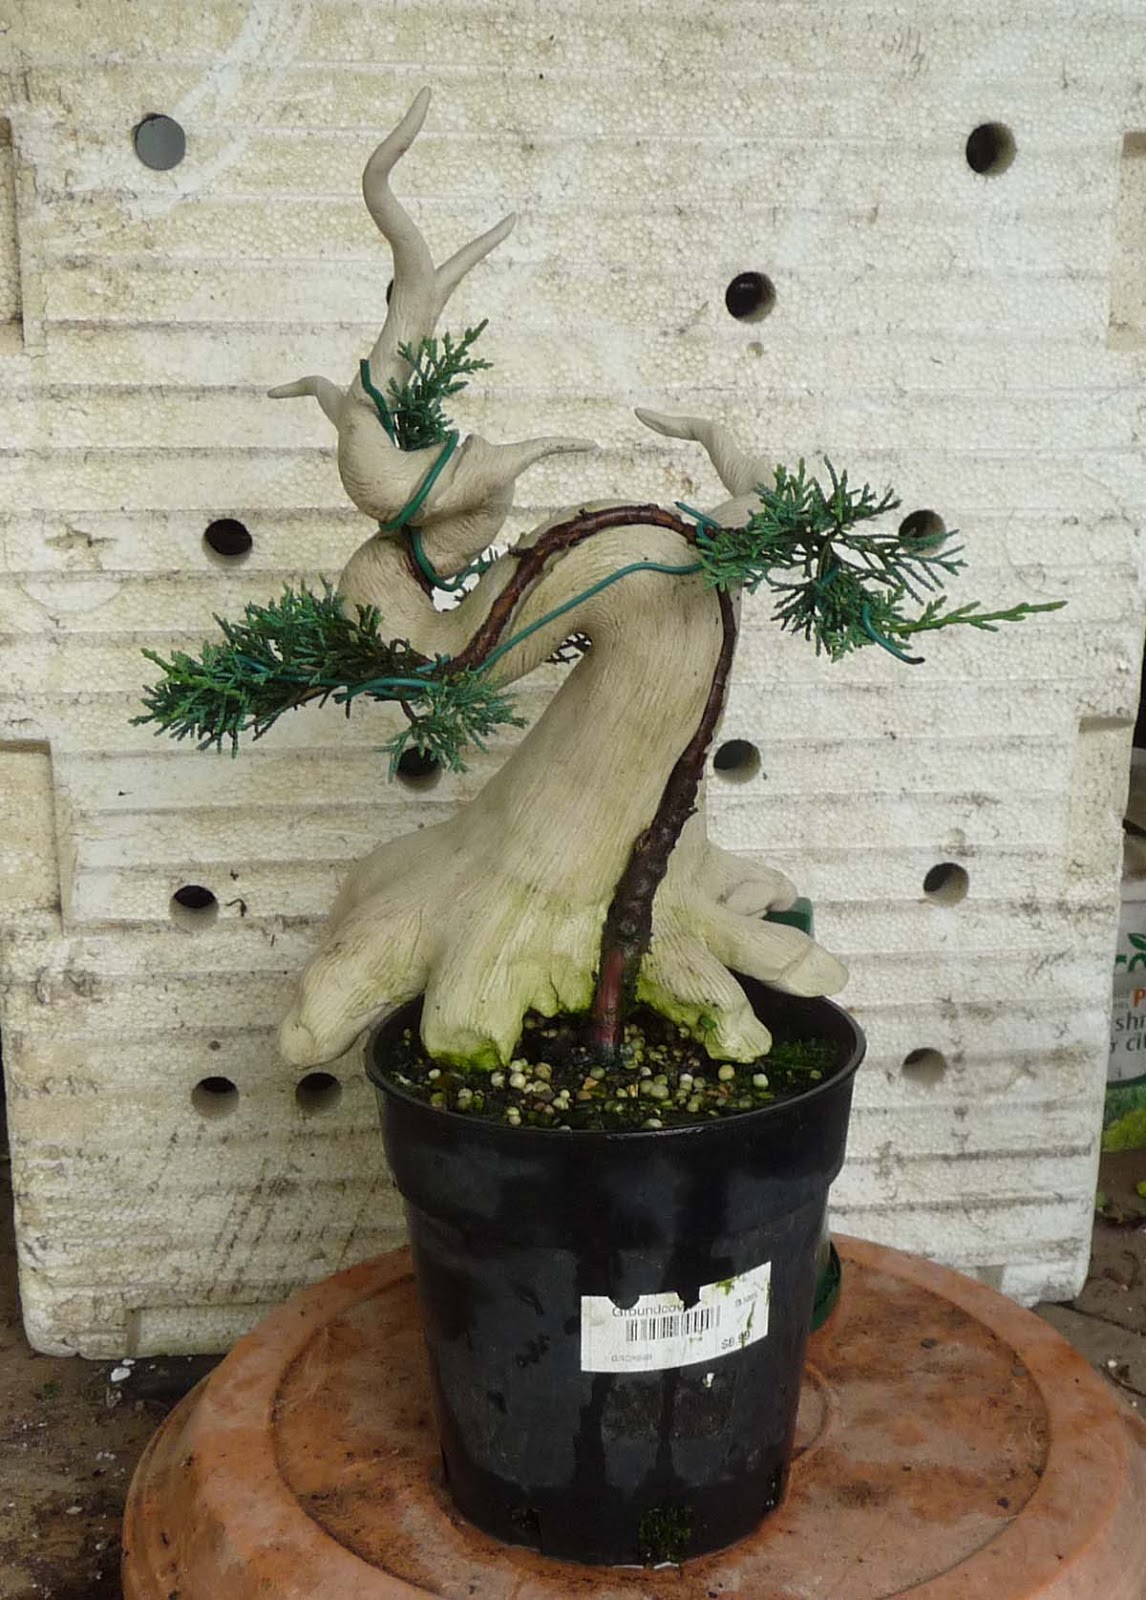
I really like the shimpakus and despite their slow growth pattern thought I'd go back with another. This one I bought only last week and have just installed it.


This is the front. I cut the pot down to get the tree as well advanced along the prepared groove as the roots would allow - should have done this with the first one too. The timber at this age and diameter is quite flexible and not fragile so it went into place easily. The trunk has locked into place and needed little to hold it there.
That first branch on the right is in totally the wrong place and has been retained as a sacrafice branch only. It will have to go at some point in the future. The left hand branch has come over from the rear as you can see in the picture of the back. I'll probably loop it down lower.
Final planted depth will see the soil level at the point of junction of the tanuki 'fingers', about at the line of the holes in the poly box behind.


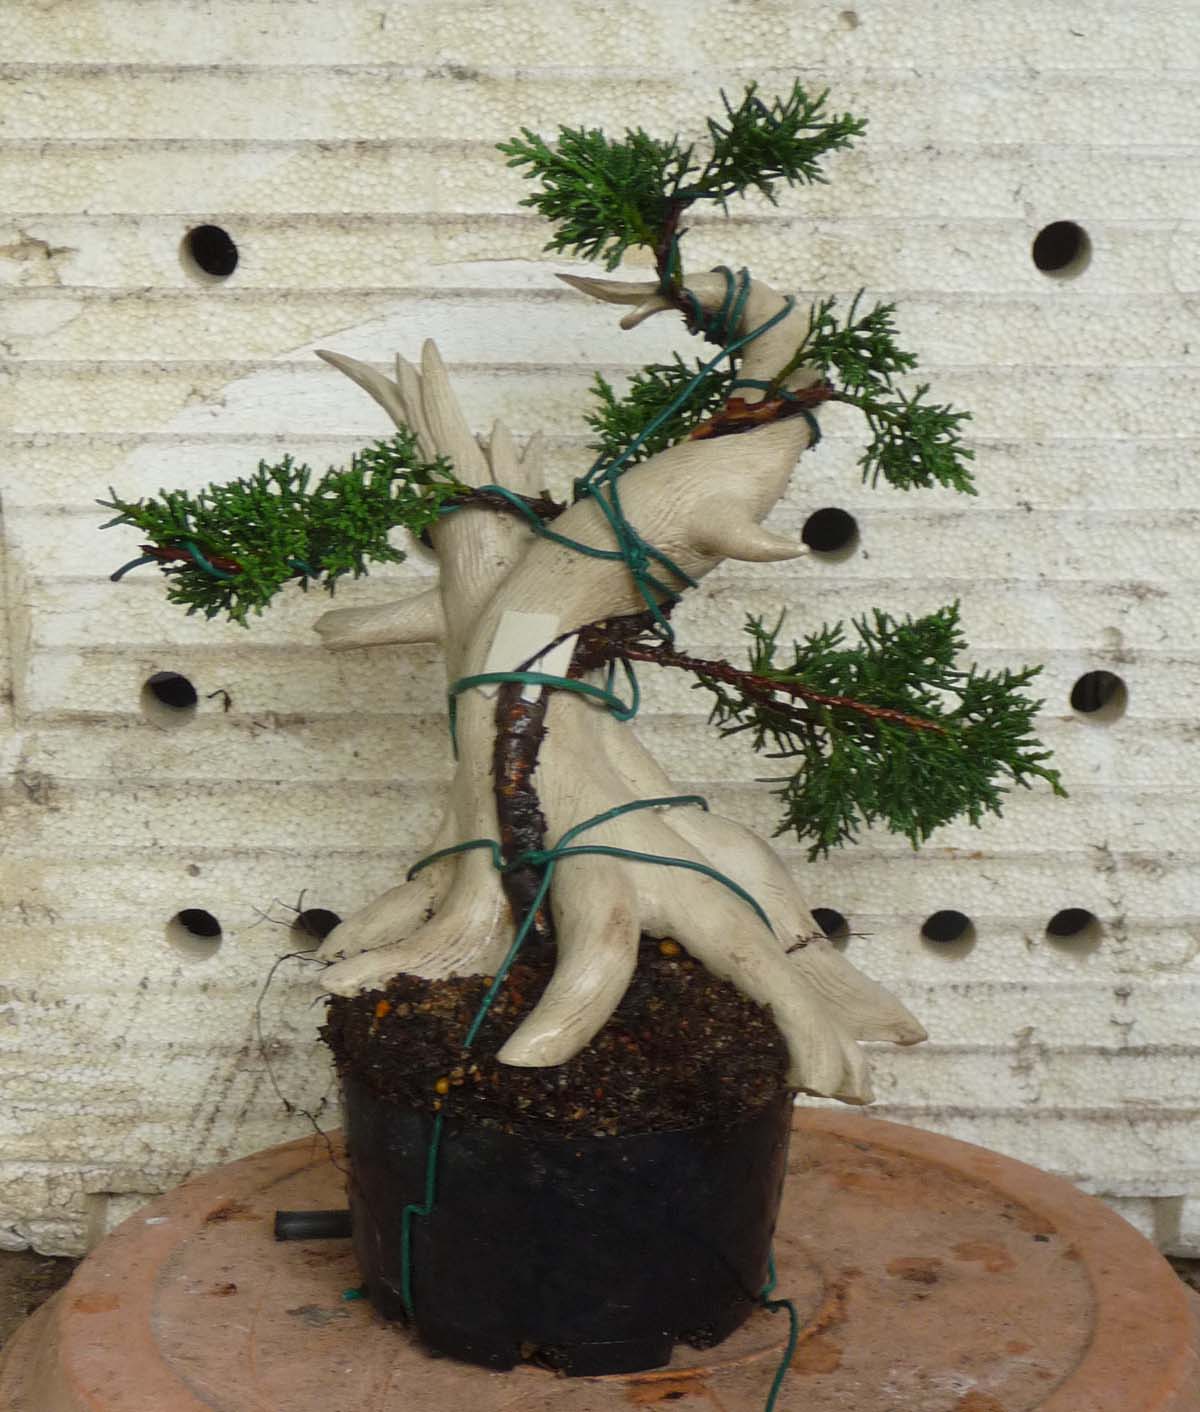
This picture shows a little better the fit of the trunk to the prepared groove. It will grow to fill up the space. This tree has better early branching structure and will offer plenty of future options


Picture from the rear.

They need a few years to develop now but it is quite nice to know that the 'deadwood' is totally maintenance free and definitely going to outlive the tree! I have been thinking about another small shimpaku I've been developing for a few years - also from a cutting. Actually make that lots of years. Anyway with the wonders of photoshop I've been thinking about how I could fashion a tanuki for it.


Something like this would work, although the lower trunk by now is very stiff and so the tanuki would have to be made to accommodate the movement in the lower trunk. All that is possible. The other challenge is the 13-15% shrinkage that occurs in drying and firing - yes just have to make it bigger, and to scale etc. I think the first step will be to make a heavy wire model of the tree and then another, 15% bigger. The other piece of imagineering required is how to mate them together when ready - is there enough flexibility there to get them together. Hmmmmmm. Ok I'll add it to the list!


Sunday, 24 February 2013

Post 77 In search of brown - line blend trials

I haven't yet taken the time to experiment with chrome in my glazes, but that is very close now. It seems that with the right additions it might be possible in an oxidation firing, to achieve dark reds, good green and zinc chromate browns.

In the mean time I've still been working with iron oxide and then manganese to test the limits. I'm entirely comfortable using iron oxide but not so the manganese and so if I can get away with it then that would be good. Mind you same thing for chrome actually. I did a trial recently of a couple of line blends.

The first one used two recipes for additives but both with the same base glaze - my mostly used Nepheline Syenite Post recipe.
On the LHS is 7-1 with 2% RIO, 5% Yellow Ochre, 3% Titanium Dioxide and 3% Tin Oxide.  The colour has more yellow tones than red and would be a good strong colour for a homogeneous application on a pot, to simulate the tonality of some of the Japanese and Chinese unglazed pots.
On the RHS is 7-6, a iron brown brown with 10% RIO and 7% Zinc Oxide. Zinc tends to encourage a deeper expression of the other colourants and it's done that here. I've found it quite challenging to get any red tones out of an oxidation firing of RIO in most but a very few recipes. Sankey's iron red is one of those and it is a very reliable glaze if you want a good glossy surface. I've yet to try to turn it satin. I'll save that for my search ffor red.

Anyway these are two good candidates for a line blend.
As per normal the second tile from the right, 7-2, has 80% of 7-1 and 20% of 7-6, etc etc
 

The results show the power of the zinc in small amounts. 7-2 is getting close to a useful colour.

The next set was an attempt to create a staining slip that I can apply to bisque ware, to apply a dark red brown colouration and at the same time retain much of the texture of unglazed ceramic.
 The underlying slip recipe is 50% Nepheline Syenite and 50% Eckalite.
Tile 7-7 has an addition of 50% RIO and 7-12, 50% manganese oxide. Once again the tiles in between are composed with 20% steps between the two on the outside.


The slips were brush applied, just a quick single coat. Texturally they are all quite matte, as you would expect. The underlying slip recipe will give a unity ratio of about 3. Of course you need to get to about 6 for a satin and 8 for a gloss. The colours show the dominance of the manganese impact. 7-7 which has RIO alone has a good red tone but the smallest amount of manganese takes it to almost black.
The clay content of the slip made it very good to apply to get an even coating with a single coat; very nice to use on bisque and performed well through the cone 6 firing with no cracking or delamination. This test has been a good start with clear massages about colourant levels for the next series; I think to bring back the level of RIO to 20% and Mn to 5%. This should undershoot, but that's the best second step for a trial.


Thursday, 21 February 2013

Post 76 Concrete bonsai pots

I was reminded recently of my first steps in bonsai pot making was actually many years ago. While it has only been more recently that I've ventured into ceramics that first step was taken with concrete.

So I've been out to scout around and find those old pots. I was pretty sure some were hiding in one of my 'boneyards' around the place and sure enough there they were covered in a age of decaying eucalyptus leaves. We've been here for 10 years and so these pots must be at least 15 years old, made at a time when my trees were smaller and so the pots are of a fairly modest size.


This model is about 250mm long. I recall looking for some way to get some shape into the wall design and hit upon using timber skirting board. It comes in a variety of profiles and height, ideal for making moulds like this. I simply mitred up four pieces and used a piece of wire to hold it all together and in shape. The concrete mix was about 3 coarse sand to 1 cement and only just enough water to moisten the mix, with no 'free' water. After oiling the mold then, bit by bit then I rammed the mix into the mold - floor and walls and then smoothed off the inside.  After a very short time it was strong enough to take out and immerse in a container of water. As they say concrete continues to get harder and harder over time. As I recall most things would grow in these pots, well except azaleas which prefer acid to alkaline conditions. 


This is a detail of the feet which were set in place as soon as the pot was released from the mold.


 This one was a little more ambitious. To make this mold I used a bonsai pot I had and coated it with many layers of casting latex, then a concrete surround to support the latex. Reverse that when set and follow the same rammed concrete procedure, into the latex mold. The mold included the feet so did the whole job in one go.

The latex is never going to work with clay but anyone looking for an easy way to make a ceramic pot mould might like to try timber. You can also add all sorts of things to a cement mix, like poplystyrene particles to lighten the material, which would be great if you needed a big grow pot. Leaving a pot immersed in water for a good period will get rid of most of the alkalinity that will initially come out of the concrete.