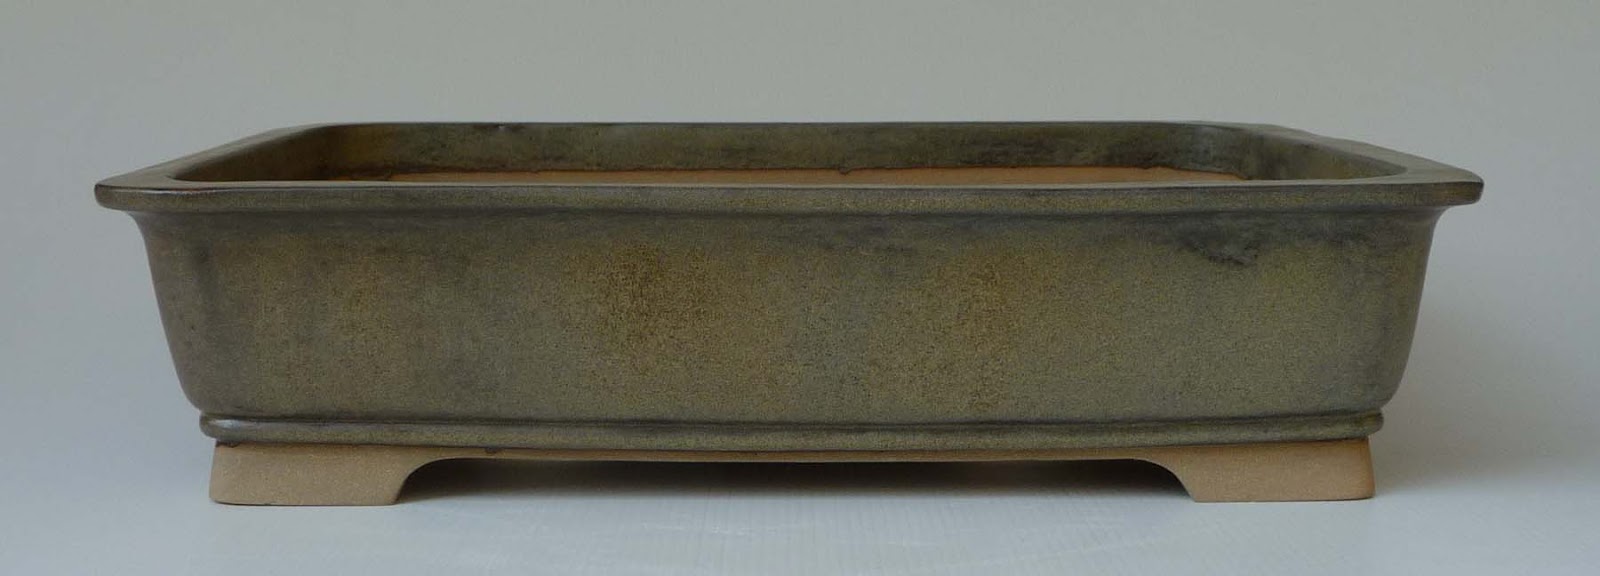
Thursday, 25 October 2012

Post 47 Slumping test

Some time ago I posted about Pyroplastic Deformation with a picture showing how the bisqued clay could deform under the glaze firing conditions. That test sparked a little research and an idea to test a number of ceramic materials as additives to the clay body to assess any impact on the slumping character.

I started with 8 materials, then realised I needed a control sample, then read about grog and silica sand. That resulted in 10 samples, listed in the table below.


Thes pictures show the sample bars arranged in 'bend order', best at the front to worst to the back, in the above picture and clearly left to right below.


It is interesting to observe a change in colouration too. The bars which have deformed the most have darkened in colour. The additives in these bars have obviously 'fluxed' the clay; in effect enabling the clay to mature at a lower tempreature than without the additive. The one doubt about this conclusion is that the worst two have relatively high water absorption or porosity (for stoneware).

At the other end of the scale, the two sand additive bars, have shown the lowest deformation and the highest absorption, which will eliminate these as prospects. The control absorpton result was 0.8% which is very good.

For the best 8 samples the deformation difference between them isn't really signifiacant. So if that's the case then the next level of selection is water absorption. On that basis Kaolin is the one that stands out. Perhaps this should be no surprise as Kaolin is basically quite refractory and is a key ingredient in high firing ceramics.You might expect that it would elevate the maturity temperature, but the absorption is unchanged for the control sample.


Further reading suggests that you may need to get to 10% additive before really seeing the impact of many materials. I can feel another test series coming up - next time to evaluate a number of different levels of Kaolin addition and bringing in another test - shrinkage as an additional indicator of maturity.


Sunday, 21 October 2012

Post 46 Four more new pots

I'm catching up on my backlog of bisqued pots. Only 2 more on the shelf now so will need to get on and make more.

The extensive glaze development and trial work has paid off. I have a couple of formulations now that will produce good stable outdoor glazes, with subtle tones and a surface with just a hint of satin. With the investment in time and resources to get these larger pots to bisque, it is a leap of faith to take a glaze that looks ok on a 35 x 50 test tile and put it on a pot. The dynamics in the kiln can produce a contradictory result. But fortunately with these 4 the result has been very close to the test result and just what I've been aiming for.


Pot 26 First of this new design and a little shape challenged without the external rim. I'm going to have to put one on the inside in future. The glaze is great and one I will certainly use again. The pot is 335 x  235 x 77, a little smaller than the others that follow.


 Pot 22 Came through really well and a good glaze. This more traditional pot shape seems to call for a darker colour and the brown works well. Final size at 377 x 274 x 91.


Oval Pot 24 with a nice differentiated cream/beige glaze breaking to sienna has the appearance of patination. I have profiled the pot wall with a lapstrake pattern to get that break and it has worked out well. Final size is 410 x 299 x 84.


Pot 18 has been hanging around for a while waiting for its turn in the kiln again. The wait was all about getting the right darker toned glaze which took some trial work. Same shape as no 22 finished up at 380 x 278 x 91. The picture doesn't do the glaze justice; a very attractive finish with evocative colours that shift with the lighting.

I made 2 new pots last week, currently drying, which takes the number to 30. 30 pots over 18 months has been a good apprenticeship and while the learning goes on I have reached a point where I think I can with some confidence in the result, turn out saleable quality pots.

Saturday, 20 October 2012

Post 45 Root over rock, rock

Fired stoneware has a hardness of about 6 to 7 on the 10 point mohs scale. Silicon and glass are about 6 and so another reasonable comparison is granite rock. It's pretty tuff stuff. Firing to vitrification really does turn clay into stone. Anything you make this way will pretty much last forever.

So I though if you are actually making a rock like substance why not create a rock for a root over rock bonsai styling. Many years ago I was in northern NSW around Ashford where there are plentiful limestone deposits - and caves. I picked up a piece which had a very interesting pattern of rainfall erosion that looked like someone had run their fingers over the surface of a piece of clay.

I new there was a reason for keeping this rock, apart from the fact that it is now half submerged under a ficus. It has now been a point of inspiration to create an entirely new one.

Here it is at about 250mm high - the 'ghost rock'.


I think this is the front and the next one is a shot of the RHS.


In the mind of the observer things in a particular context are always what they seem to be. So what looks like a rock will be one when in place with a plant on it.

I had in mind that I would secure the tree in that depression on the side. There are plenty of 'flow paths' for roots to engage in as they head down. I've also made some holes in the side at the base to secure it to the pot. A friend has given me a few Natal Figs and so now I need to get  on and plant them in some long plastic tubes for a year or so. You have to be patient in this bonsai world, and plan well ahead! Ah the joys of anticipation.

Its probably a travesty but just for fun while messing with clay the other challenge I set myself was to create a waterfall viewing stone - Suiseki. I wanted to test both a black and a white glaze and so what better testbed.

 This is the front.
 And the back.

A diaza do you think. Well only if I have nothing more important to do.

Speaking of which I have 4 new pots just emerging from the kiln, watch this space - as soon as I get the photos cropped. With this batch I think I have just about reached a point with pot and glaze, where there is some light at the end of the tunnel.